


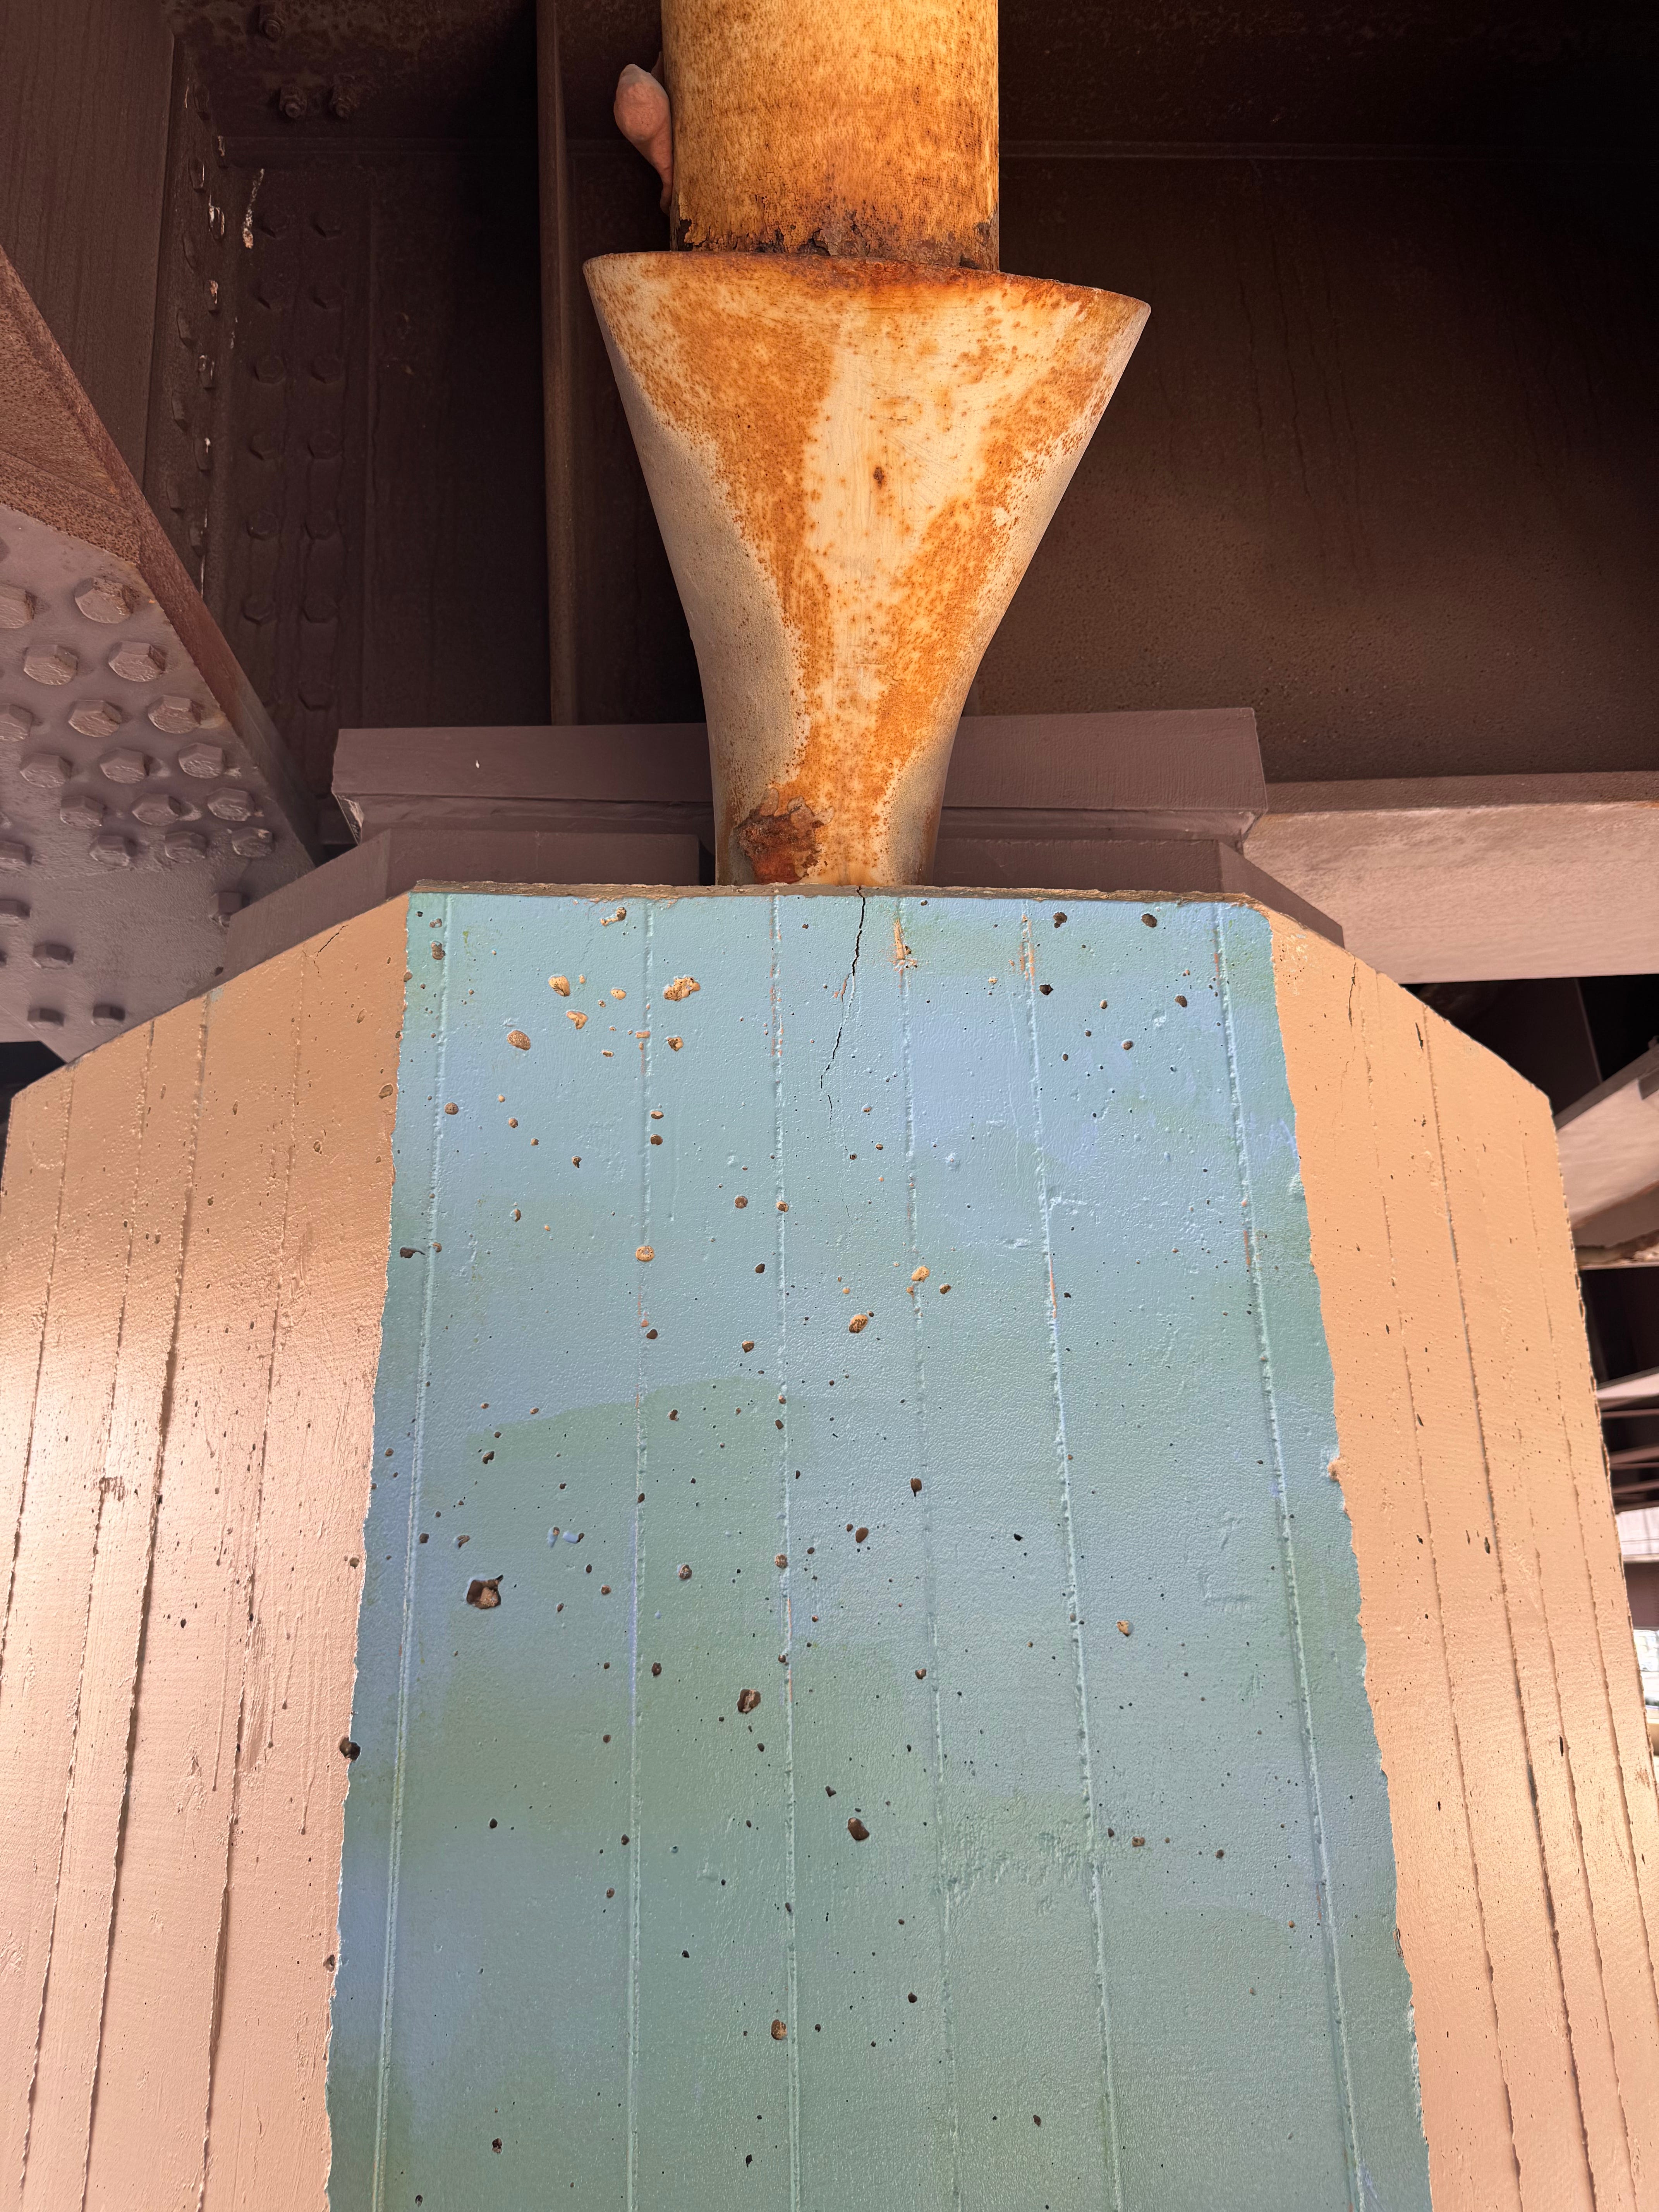
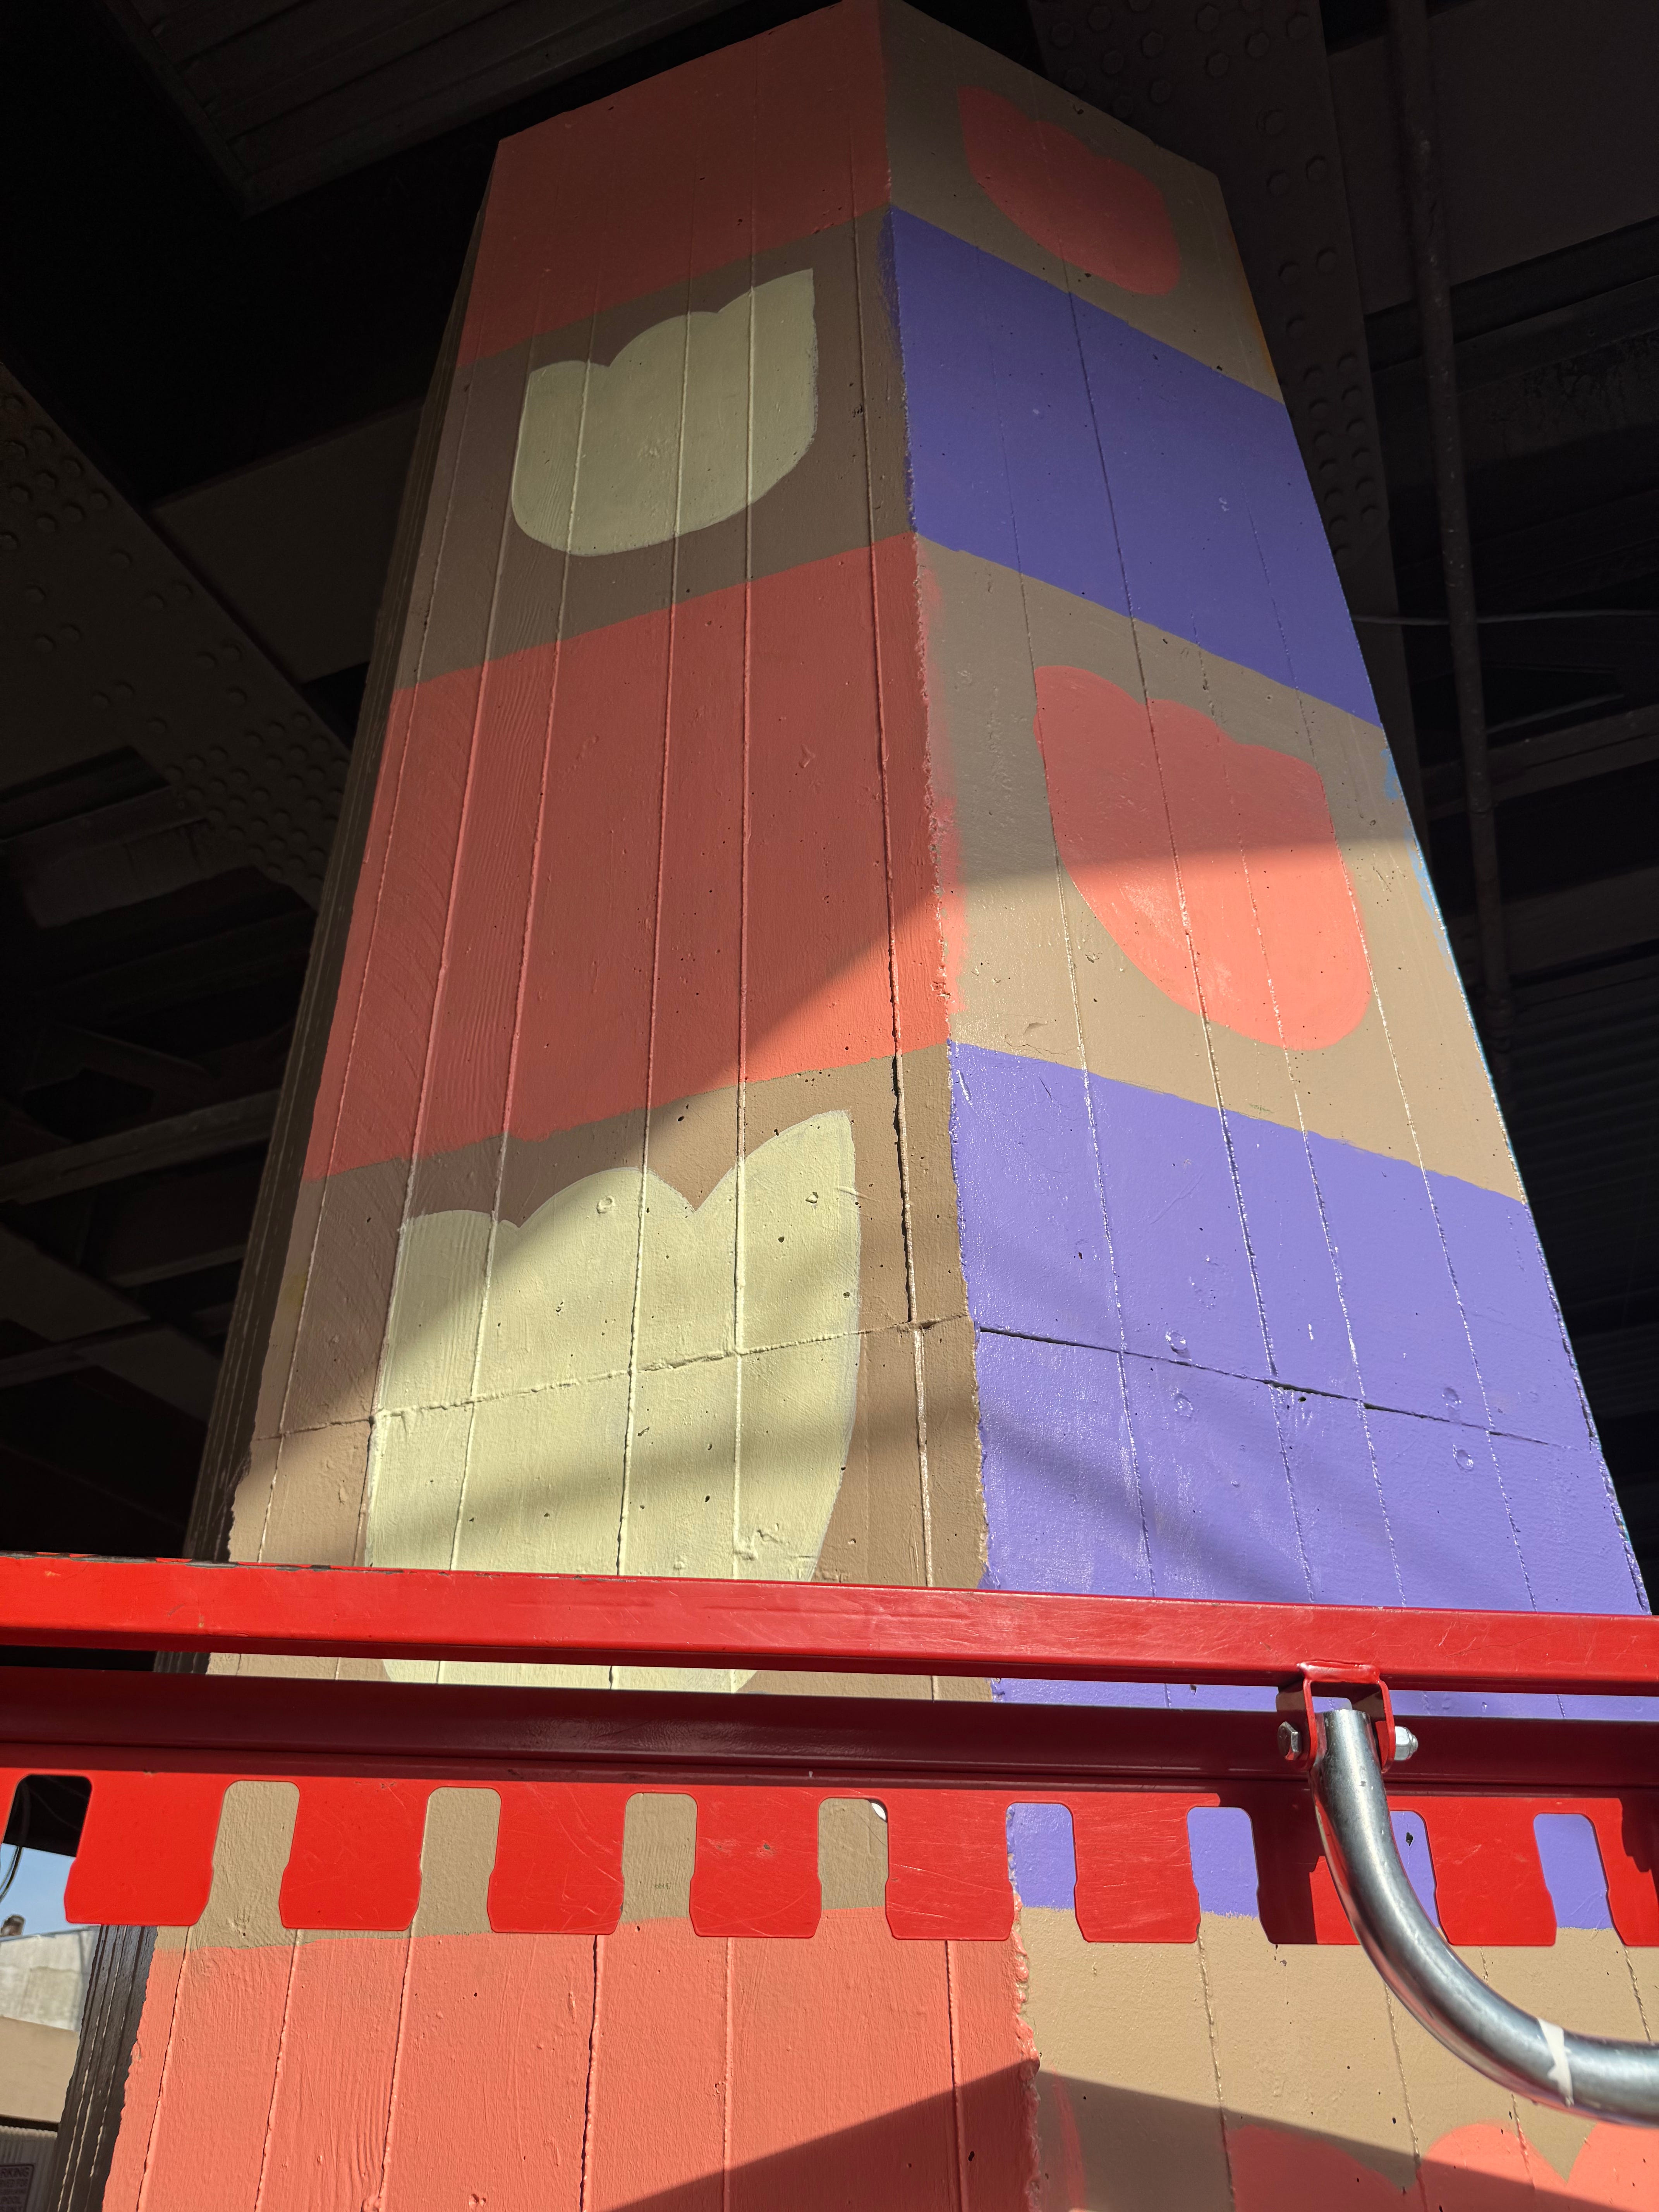
At the end of my first day on site, I had painted everything in reach on the bottom of Pillar #2 (the one with the multi-color silhouettes… Let’s call her “Baltimore Garden”), and had my first experience with a scissor lift (omg yikes) to get the tops. I left the site that day with base color on Baltimore Garden; all her sides painted a “solid” color, and just needing the flower silhouettes to be added at a later date.
Let’s start back where we left off here:
When my kids and husband showed up, I was so happy to see them (and the dunkin they brought me). They helped paint the bottom of the pillar, some with a roller, others with brushes; everyone feeling pride over their assigned side. Not too long after they decided it was time to move on with their day, our site manager rolled up (literally) on a large scissor lift. This is basically big crib-like cage on top of an expanding lift, on top of a base on heavy duty wheels. It was invigorating and terrifying to see at the same time. I knew I would need to learn to use it, but I wasn’t prepared for how scary that would be. It’s funny— I wasn’t scared of the heights I’d reach, but the idea of actually DRIVING it around and making tight turns to navigate around these pillars was very daunting.
I was taught how to turn the beast on and the basics of how to drive (it’s only got a joystick! I was expecting a steering wheel… nope. Joystick for forwards and backwards, with a toggle on top for turning the tires. A learning curve for sure). And then it was time to get this thing up in the air. I loaded my paints and water bucket and rollers into the “crib”, crossed my fingers, and pushed the joystick forward (with the toggle switched to raising and lowering, rather than driving). UP I went. My legs buckled. It’s very… not stable. I wouldn’t realize it until I got down out of the thing at the end of the night, but whew man was it ever shaky and I must’ve been tensing my legs the whole time because I was SORE. When I got out and tried to walk I nearly fell over, lol.
So up I go, 21’ in the air, in this rickety basket, trying to paint the sides of this pillar. 8 color changes and only two roller trays meant that my colors didn’t stay as “pure” as I’d originally intended them to. Instead of a solid blue, I got blue green with patches of blue. As a perfectionist, this bugged me. As a tired person with sore legs and limited time, this was just fine.
The one good thing about being the high up?… I might see pigeons hanging out in the rafters. Oh, you were asking that about the painting itself; sorry. Yeah, the one good thing about being this high up, these kinds of inconsistencies aren’t terribly noticeable from the ground. That, plus the fact that I would be painting over these walls with solid flowers and stems meant I wasn’t too worried about not being “perfect” here. With all but one side of the pillar painted, it was time to call it a day.
Tomorrow I would work on painting that last side and then start the floral silhouettes. I only have 4 more days with the scissor lift (and one of them is a Sunday, which means it’s only half the day), so it was imperative that I get anything I can’t reach on a ladder done during this time frame. Sure, in theory, I COULD extend my ladder 20’ but that also means I’d have to STAND ON A LADDER AT 20’ and that… well that I did not want to have to do.
Day 2:
I’m excited for day 2, because unlike day one where I couldn’t start until after the Farmer’s Market ended, day 2 is a random Thursday and I can start bright and early.
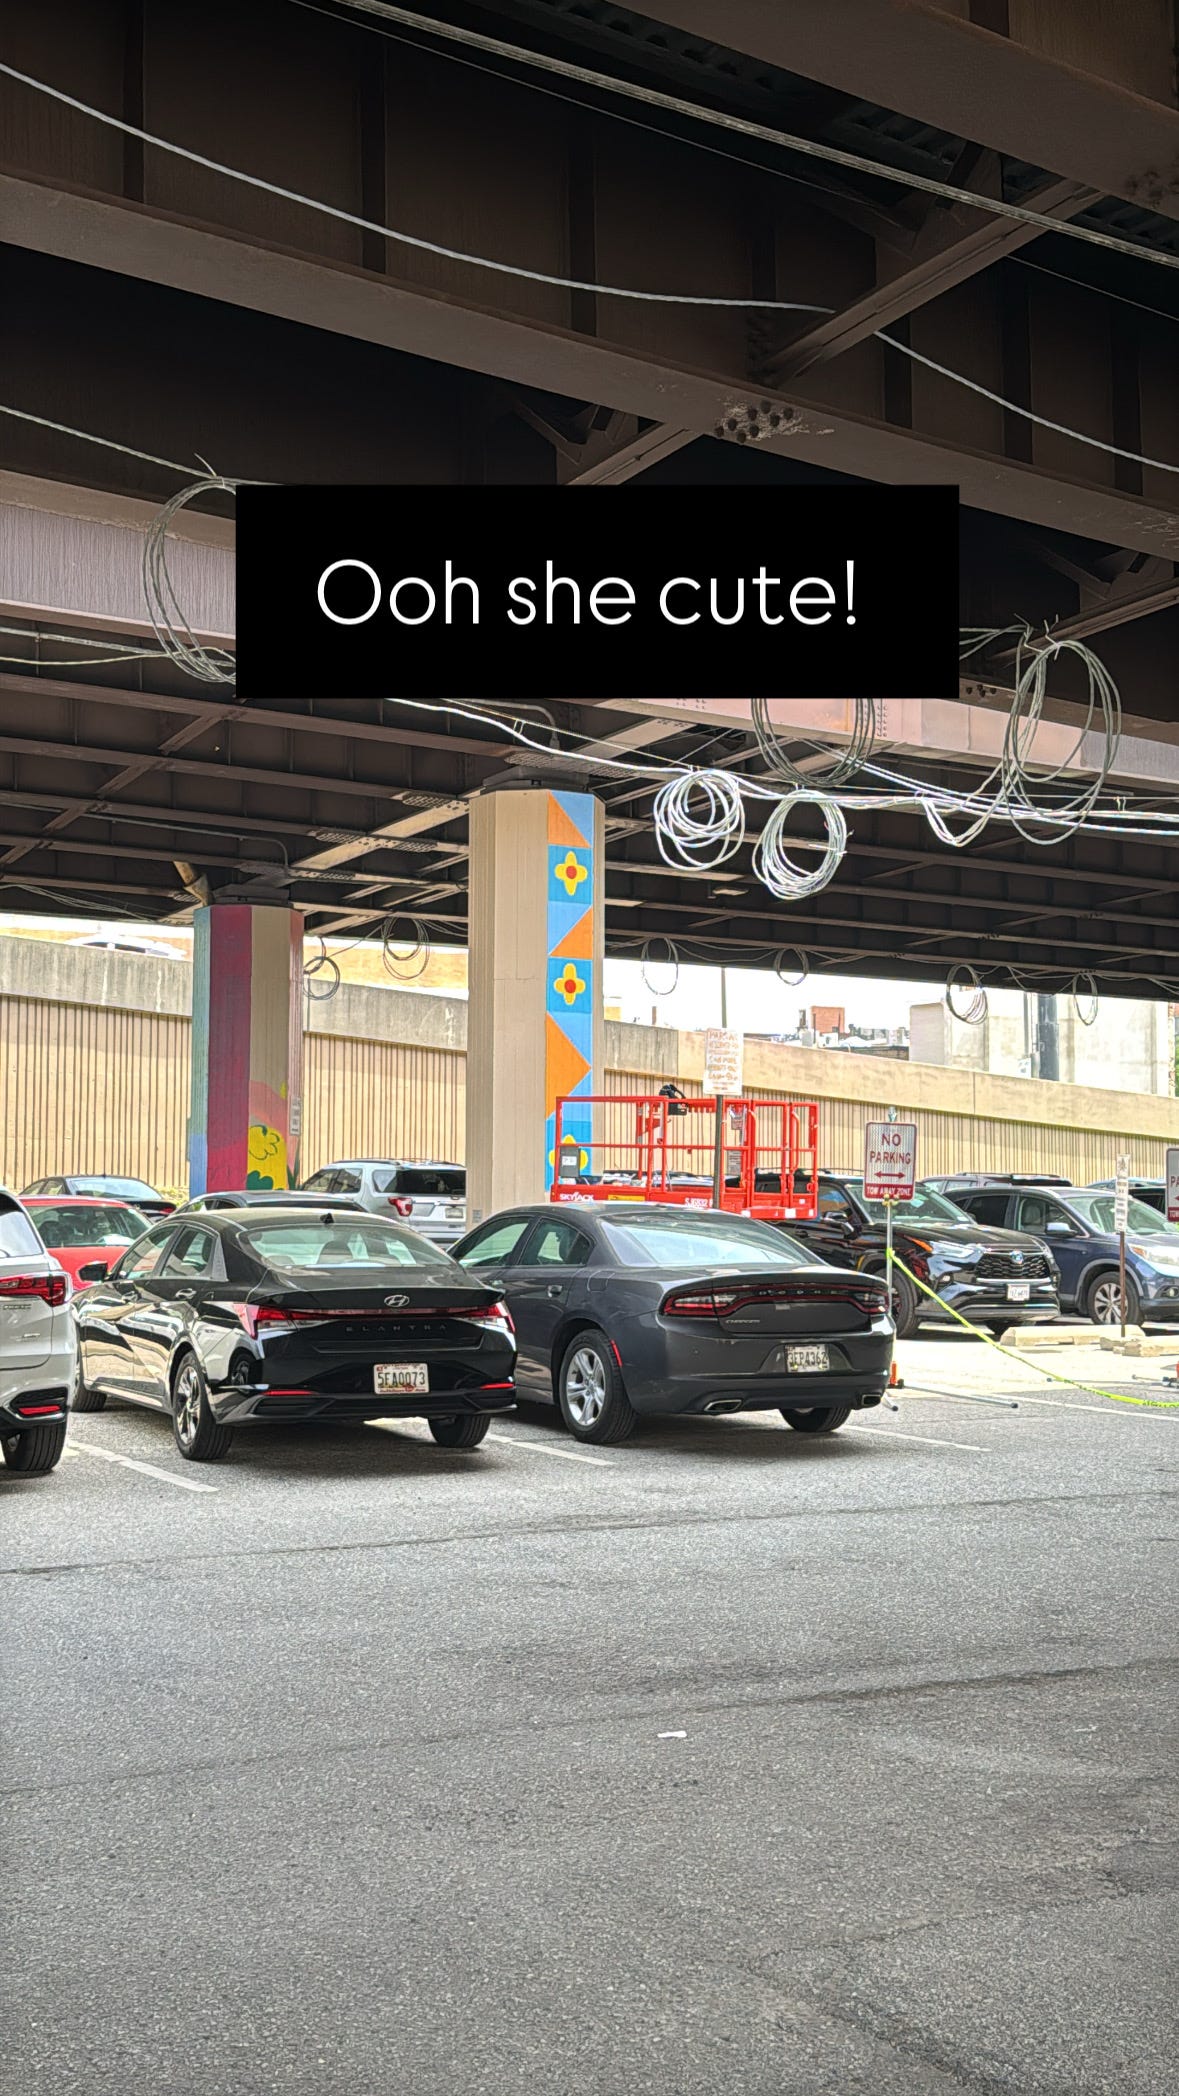
I pulled into the parking lot, dunkin iced coffee AND iced tea in hand (gotta stay hydrated & caffeinated) and immediately began cursing. The lot was FULL full. There were cars parked right up alongside “Baltimore’s Garden”, making her completely off the table for using the lift today. Expletive.
Just across the way, at Pillar #1 (which we’ll call “Quilting Bee”) the pillar is flanked by disability parking spaces, which means there is a bit of excess space on either side of the column. It’s not enough (for me) to drive a lift into, but I at least feel more comfortable pulling out cans of paint with a bit of distance from the cars parked there.
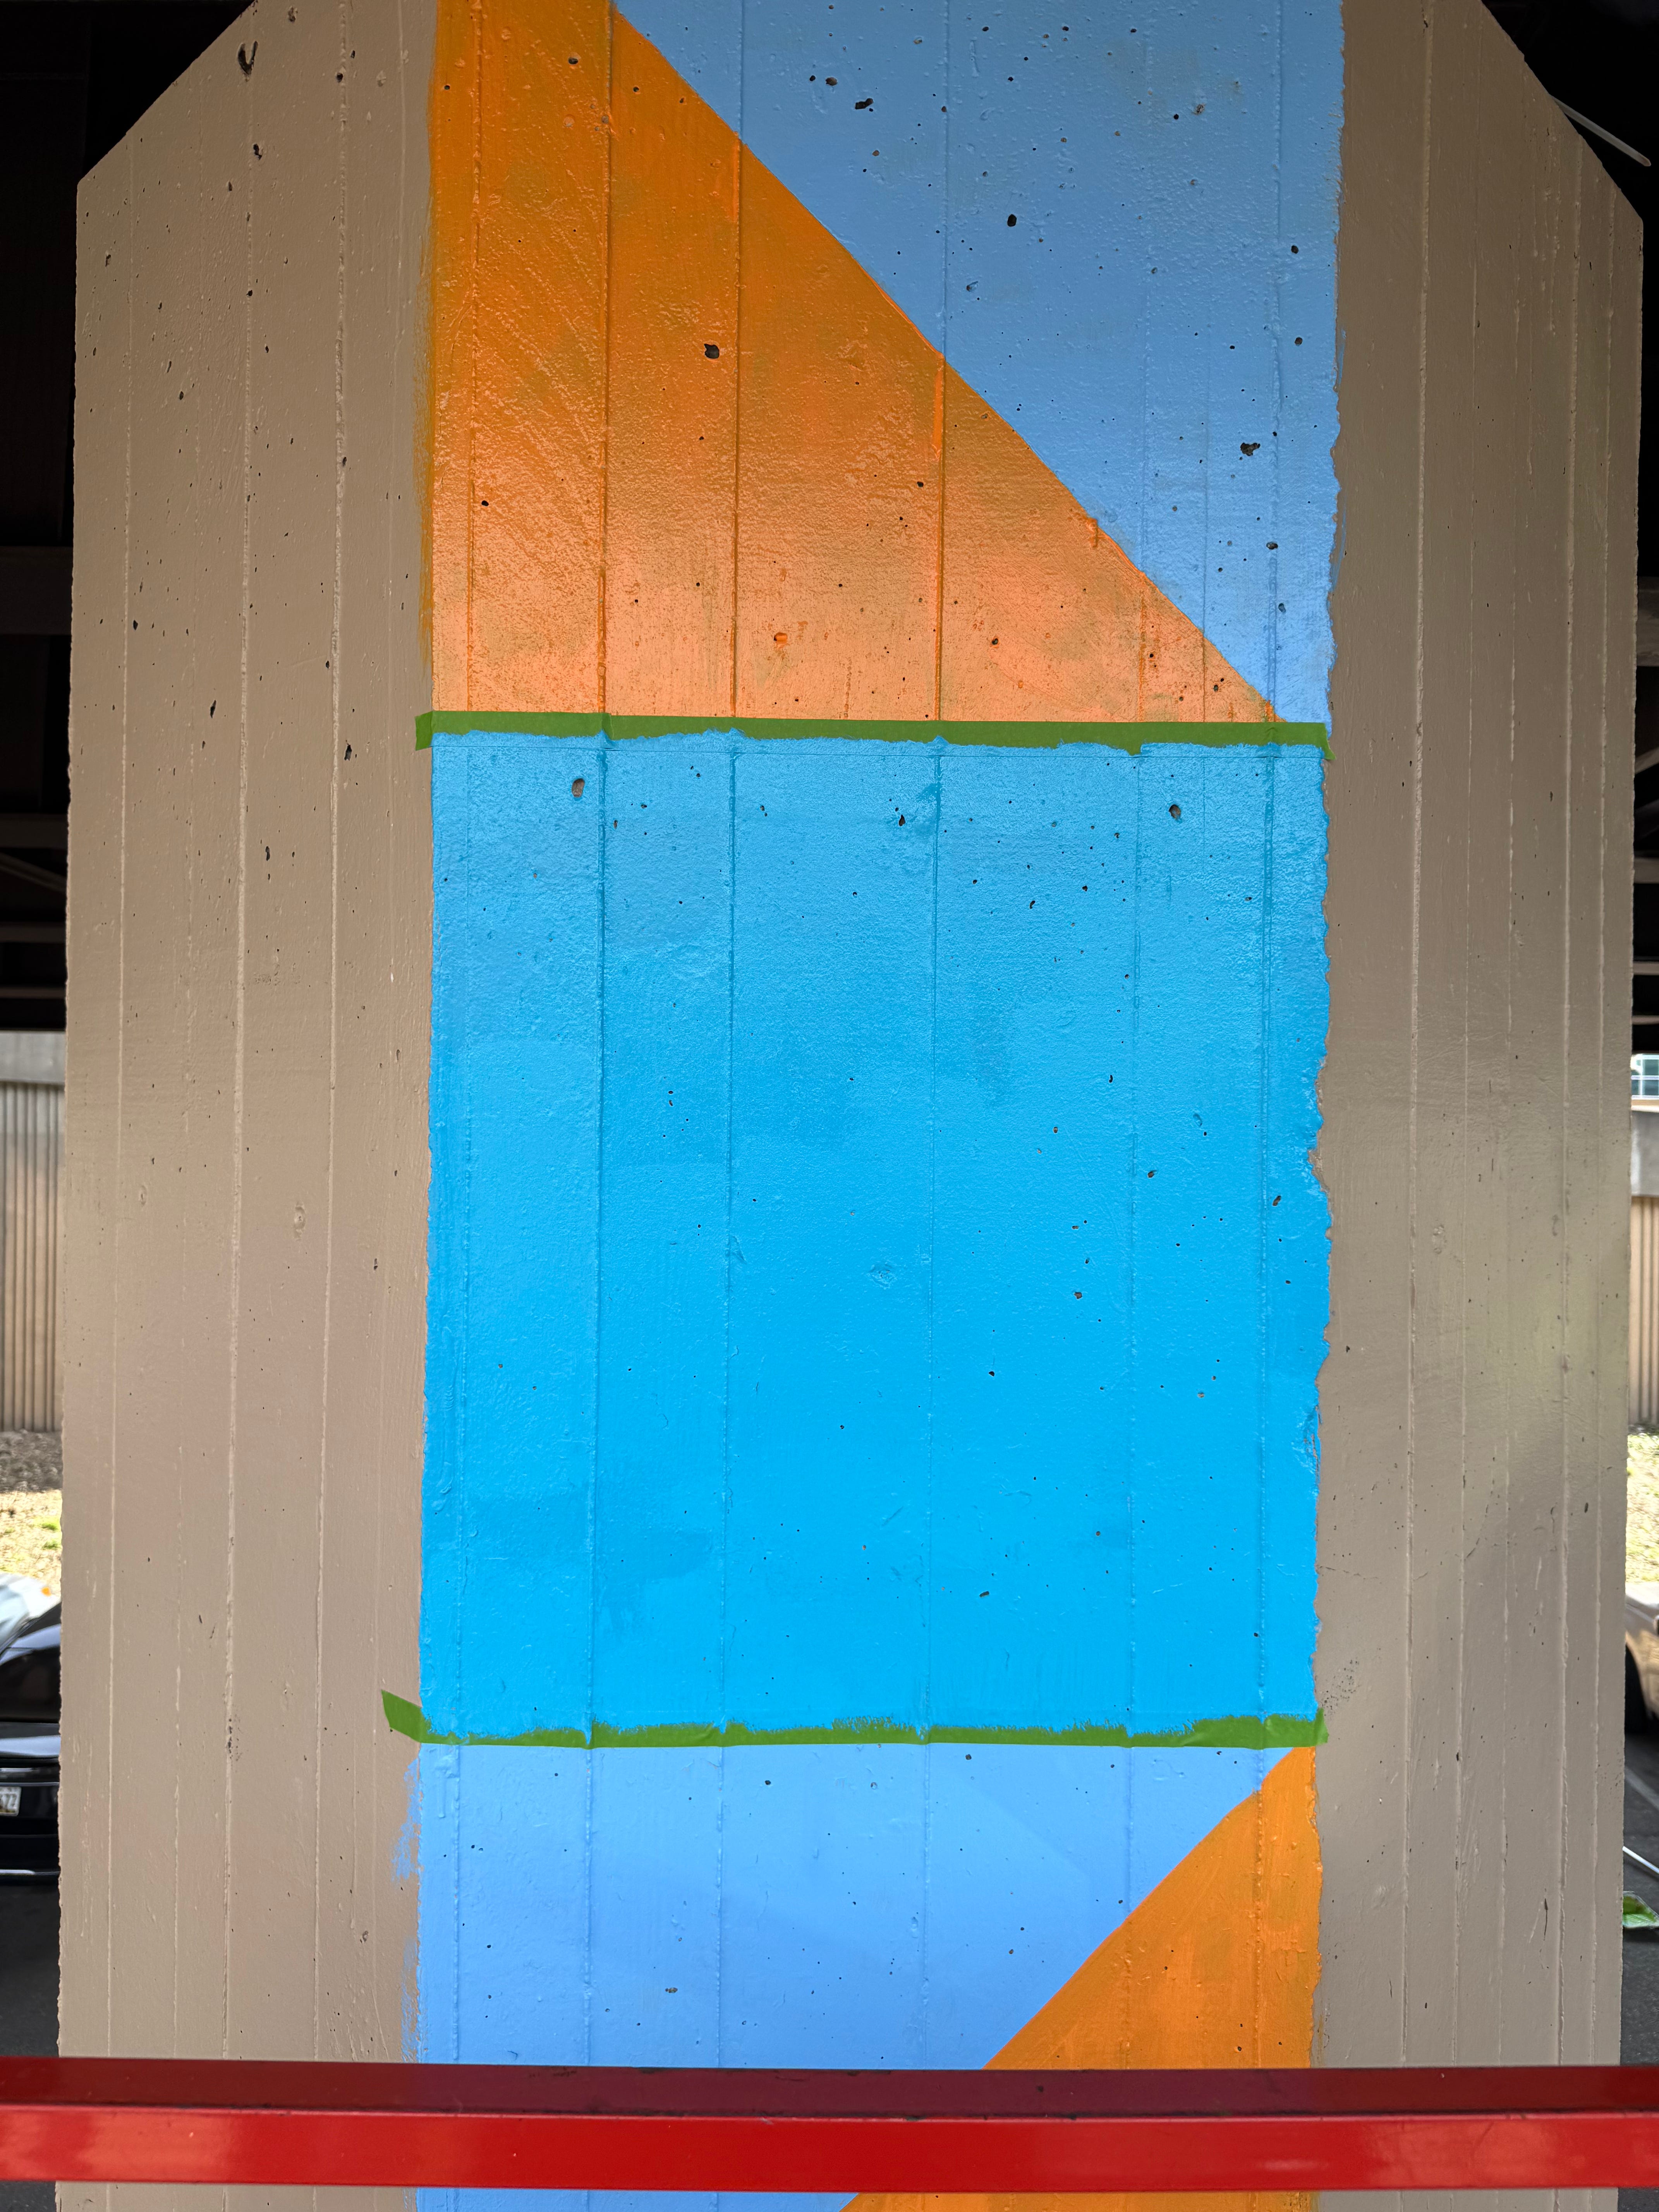
I started by painting flat color around the bottom of the pillar. It wasn’t ideal— this design is a grid and so math based, I needed the top design to be divided into equal sized squares on each facet of the pillar. BUT, I also knew the bottom part would be tall rectangles and figured, using rough math, that if the pillar WAS 21’ tall, as the measurement app on my phone was suggesting, I could comfortably paint at tall as I could reach and still be within that rectangle. I got a few of the bottoms painted when the site manager showed up for the day… driving the lift.
He was far more intrepid than I! He managed to fit it into the open space between the parked cars and the column and I figured if nothing else, I could go straight up and down and get at least one side of the pillar done! With my trusty ruler/level on hand, I went all the way up and measured 24” down (the facets of the pillar are 24” across, so this was how I knew I was making squares). For the half square triangles, it was just like measuring for a quilt… except way high in the air.
I took a quick bathroom break (we have a porta-potty on site with a combination lock so it doesn’t get used by anyone but the artists working) and that was my first time off the lift that day— my first chance to see what she was looking like from a distance. I thought she was pretty cute.
With that first side done, and the parking lot starting to clear out a little, three cool things happened: 1. we were able to block off parking on either side of my other pillar (helpful for the coming days) and 2. I saw some friends! It’s always important to have moral support when you’re working on site like this, and I was thrilled to see these two came for a visit.
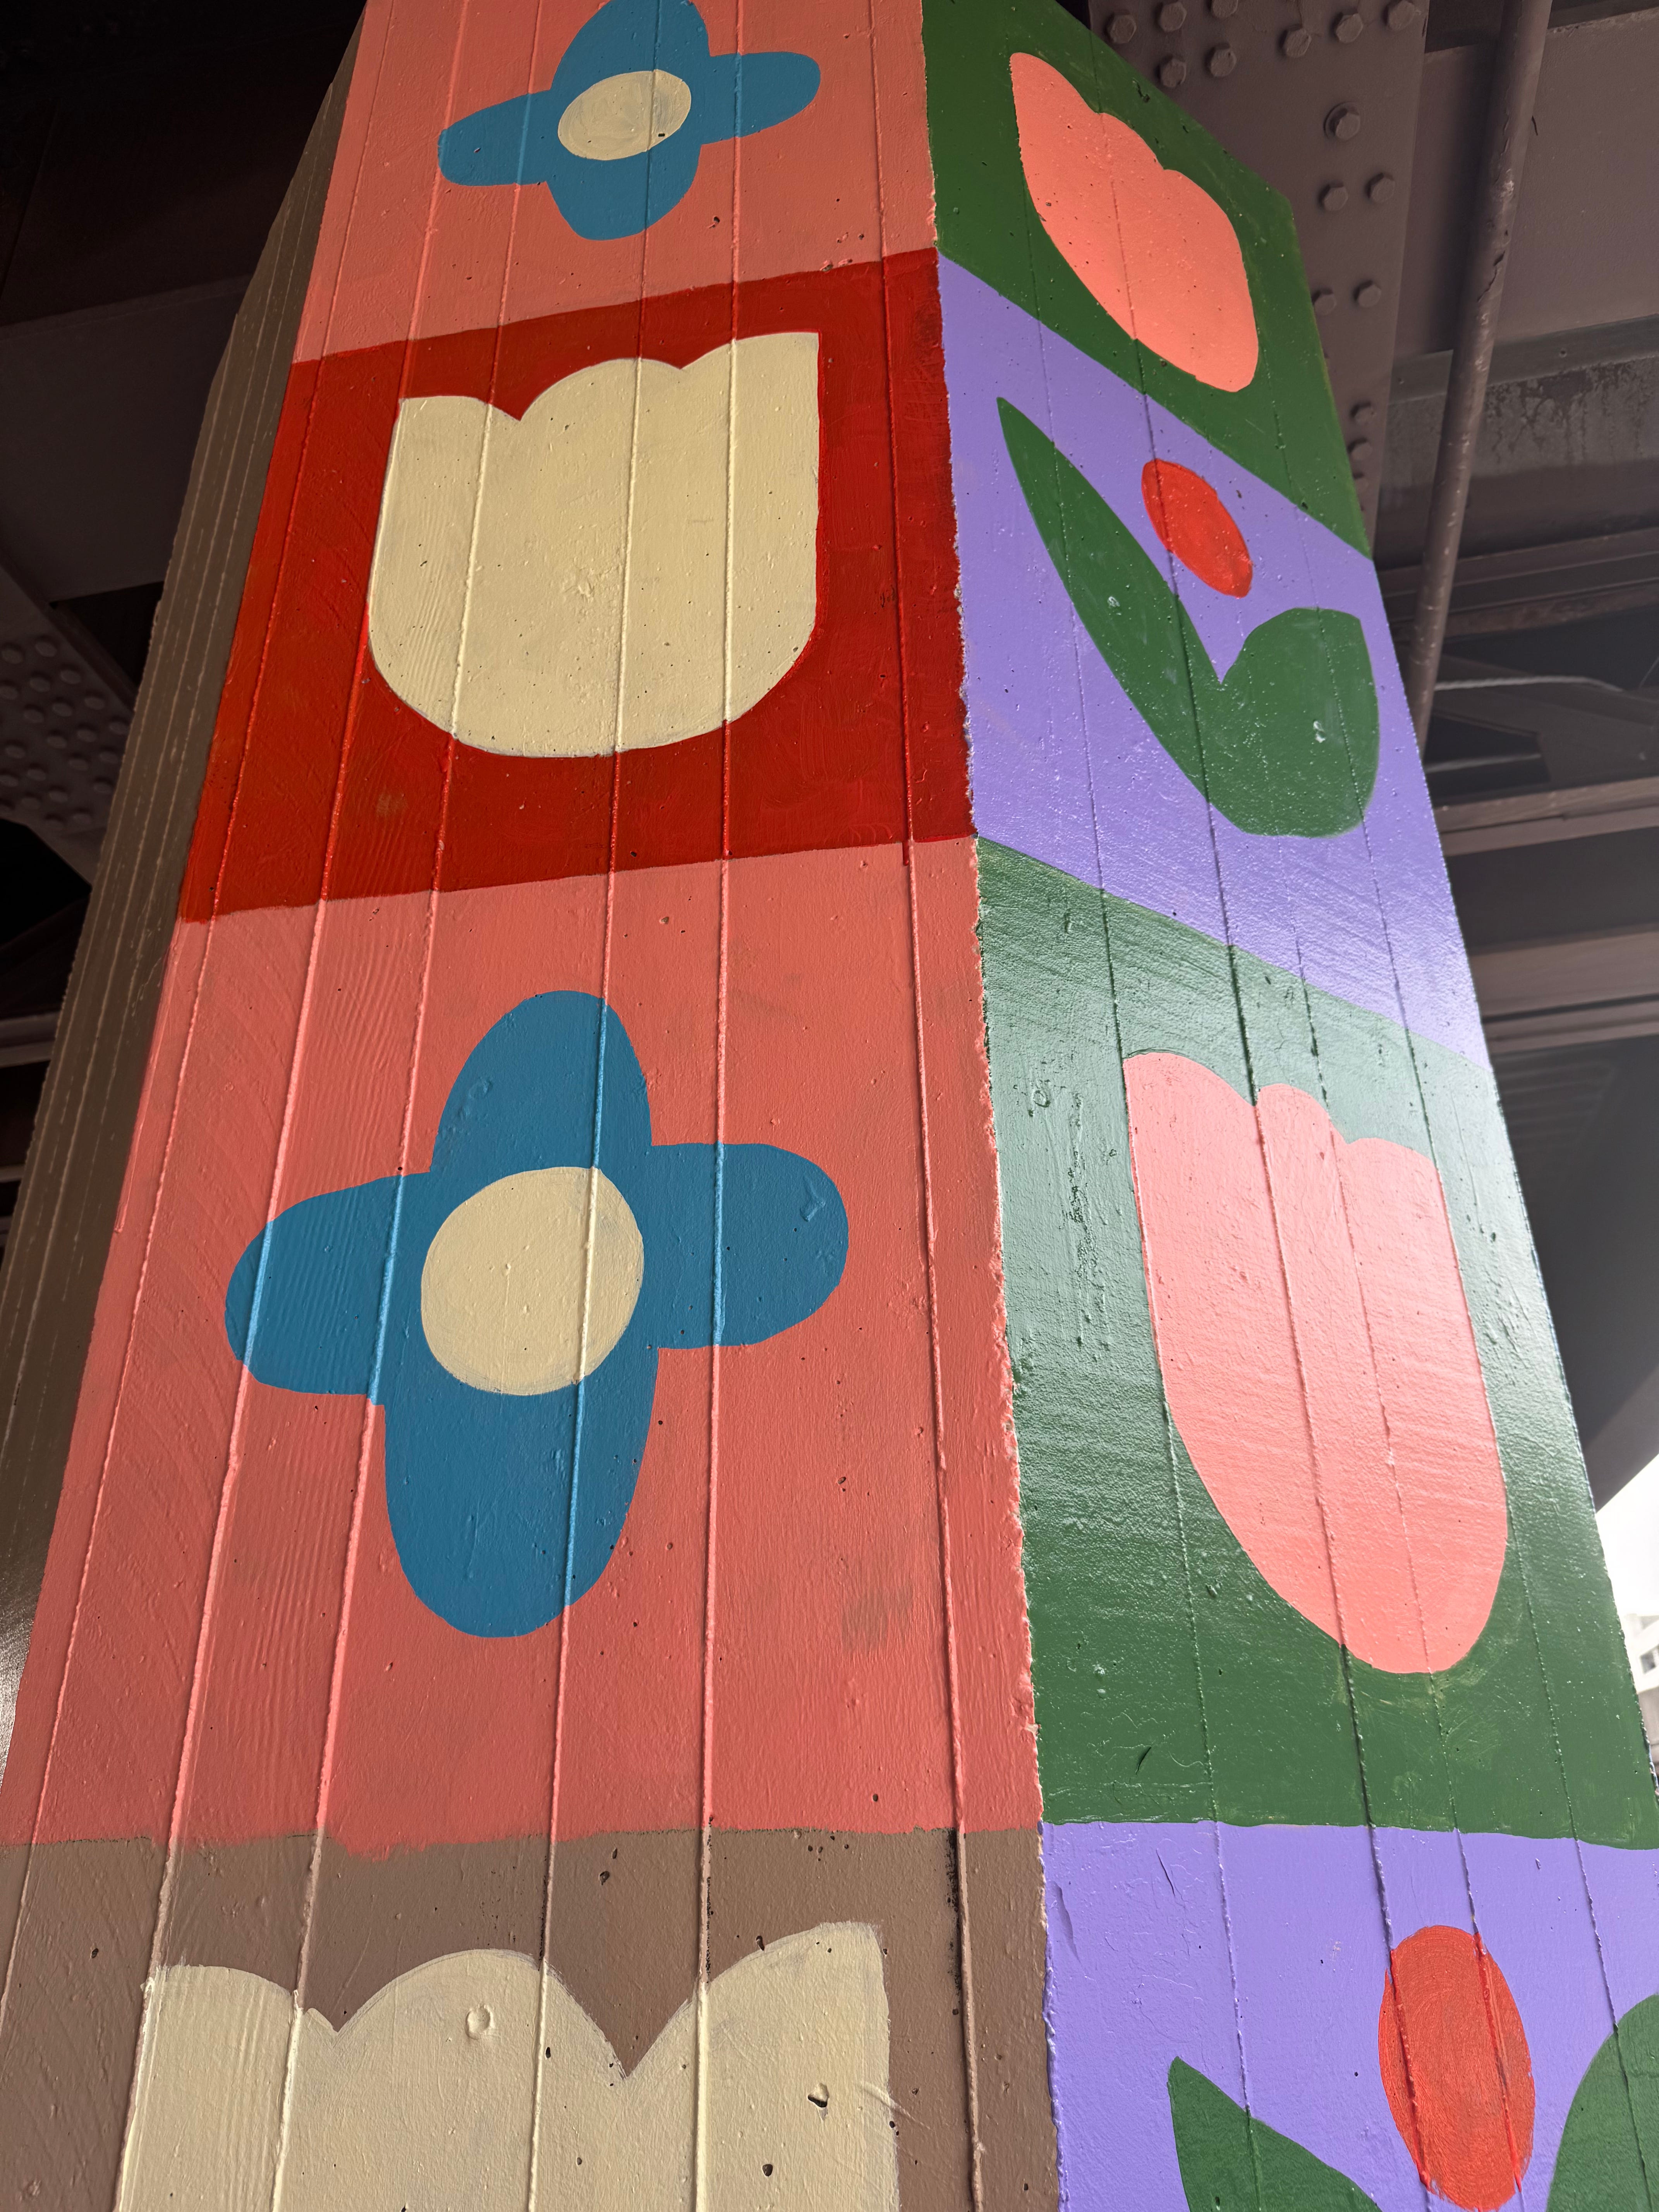
and 3. I was able to move the lift around to another side to begin painting that in as well. One of the challenges of this whole thing (any mural really) is paint coverage. For the lighter colors you have to worry about the order you paint in (you want to do light first and then paint the darker color around it) and for darker colors that don’t have much white in the base, you are worrying about coverage, lest the end result be streaky.
So for these flowers I had two do two coats— one set of flowers would stay this cream color and another set would get its second coat using my yellow paint. The yellow is the hardest one to work with because it’s a pure primary color, with no tint to it (no white added). You can see how streaky they are here after just one coat.
By the end of day 2, I had painted about half of the Quilting Bee column, and was ready to start bright and early the next day, with all my parking spots blocked off and a more comfortable handle on the lift.
I also had a SCREAMING backache. And I was covered in bruises. I thought going to yoga would help work out the kinks in my back but I was wronnnnnng. It made things worse. Whoops. I came home from the day very ready for a hot shower and reconsidering my choices, lol. Mural painting is no joke! Tune in next time to see how days 3 & 4 went for me and if my back got any better (spoiler: it did not)
Thank you so much for sharing this process, it's absolutely fascinating!